Xtra-PC 2.0 Initial Setup
NOTE: All applications are installed directly to the Xtra-PC USB device and not to any of your existing internal HDDs or other storage.
To set up your Xtra-PC, please follow the steps below. At the bottom of this page, you can also watch videos of these install steps and install process.
Plug the Xtra-PC USB device into a USB port on your computer.
NOTE: If you plug your Xtra-PC in while running Windows, you may be prompted by Windows to format the drive. DO NOT FORMAT THE DRIVE! Click "Cancel" and proceed to step 2. For more information on this, please see Appendix D - Frequently Asked Questions.
Ensure that Secure Boot is disabled in your computer’s BIOS/UEFI.
NOTE: If you are unsure if Secure Boot is disabled, run the DoubleClickToUseXtraPC.exe tool that is on your Xtra-PC drive. See Appendix B – How to Disable Secure Boot for more details.
Restart (reboot) your computer or restart to Xtra-PC directly from Windows (See Appendix A - Restarting to Xtra-PC from Windows).
When the computer restarts and you see the initial start-up screen for your computer, start tapping the boot menu key for your computer.
Examples of common computer boot menu keys:
Acer F12
Asus ESC or F8
Compaq F9 or ESC
Dell F12
Fujitsu F12
Gateway ESC or F10
HP F9 or ESC
IBM F12
Lenovo F12
Samsung ESC
Sony F11
Toshiba F12NOTE: If your computer loads as it always has and not to the Xtra-PC USB device, then you did not press the boot menu key in time or it was not available on boot. In this situation, follow the instructions in Appendix A that explains how to use the DoubleClickToUseXtraPC tool to help you boot to the Xtra-PC device.
When the boot menu appears, select the USB to boot to the Xtra-PC device.
NOTE: If you select the Xtra-PC device and you get an error message about “Access Denied” or “Authentication Issue”, this means that Secure Boot is still enabled in the BIOS/UEFI and needs to be disabled before booting to Xtra-PC. See Appendix B – How to Disable Secure Boot for further explanation and steps to take to disable Secure Boot.
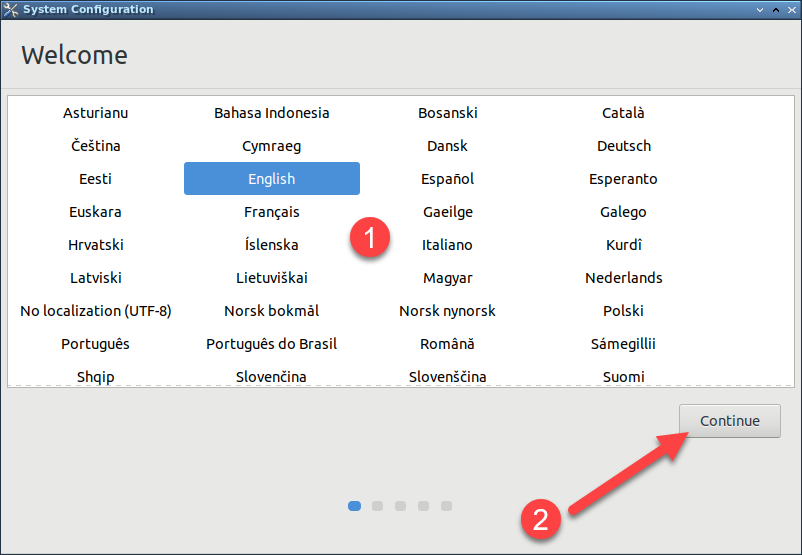
When your computer boots to the Xtra-PC USB device, you will come to a Welcome screen asking you to pick your preferred language. Select your preferred language and then click “Continue”.
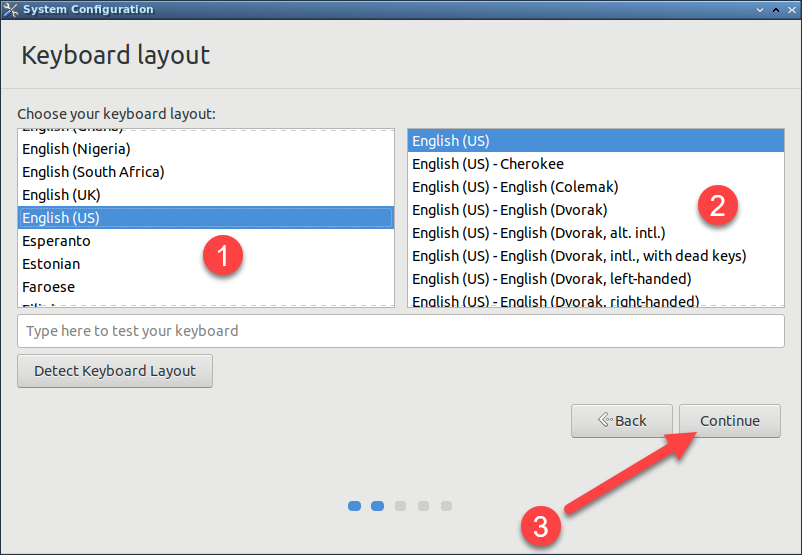
Select your keyboard layout, then click "Continue".
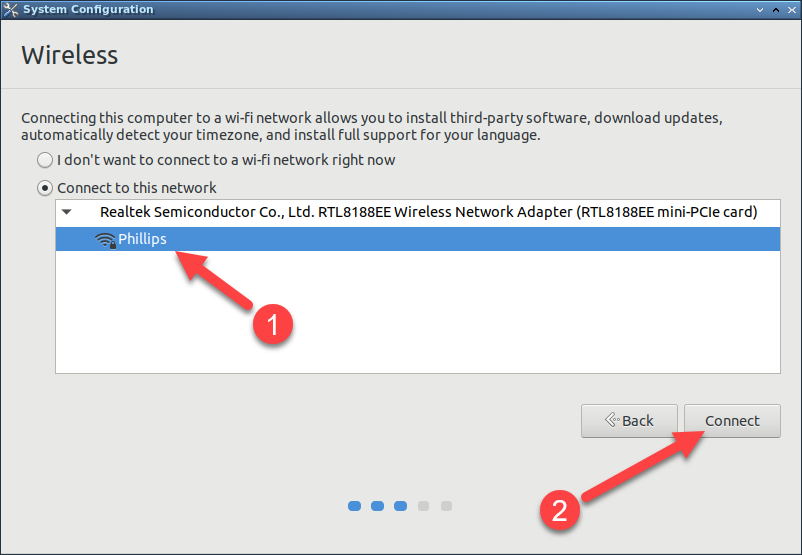
If your computer has Wi-Fi capability, you will be asked if you want to connect to your wireless connection now.
NOTE: If your computer does not have Wi-Fi capability, you will automatially go to step 9.
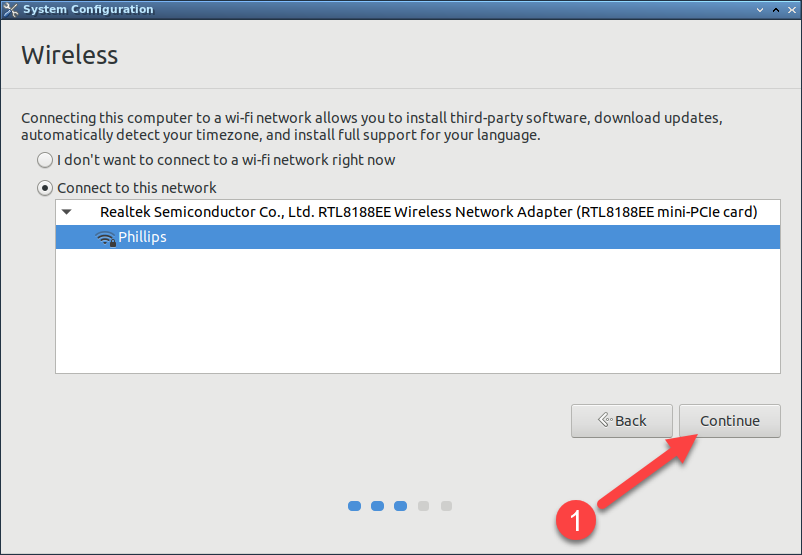
NOTE: It is not mandatory that you join your wireless network. If you prefer, you can always join your wireless network later by selecting "I don't want to connect to a wi-fi network right now"Select your Wireless network from the list and then click "Connect":
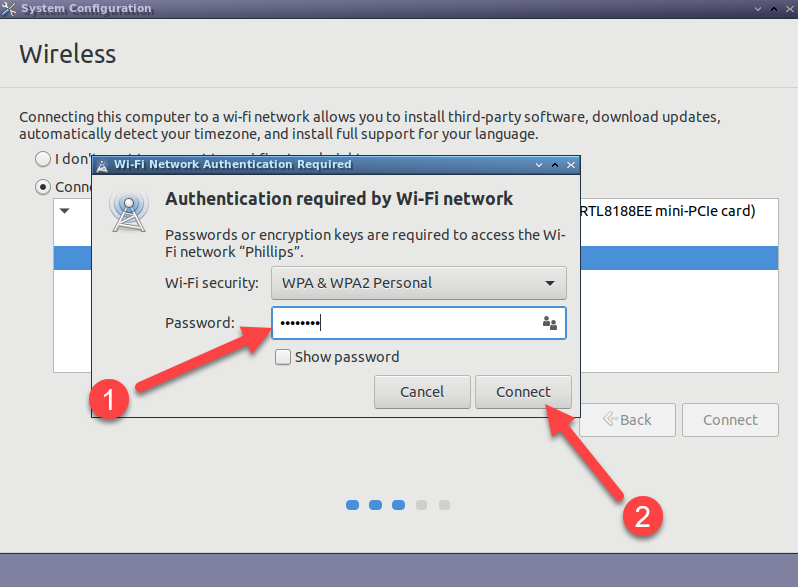
When prompted, enter your wireless password, then click "Connect":
If there is a problem connecting to your wireless network (for example, an incorrect wireless passcode is entered), you will be prompted to try again. Otherwise, if it successfully joins your wireless network, you can click on "Continue":
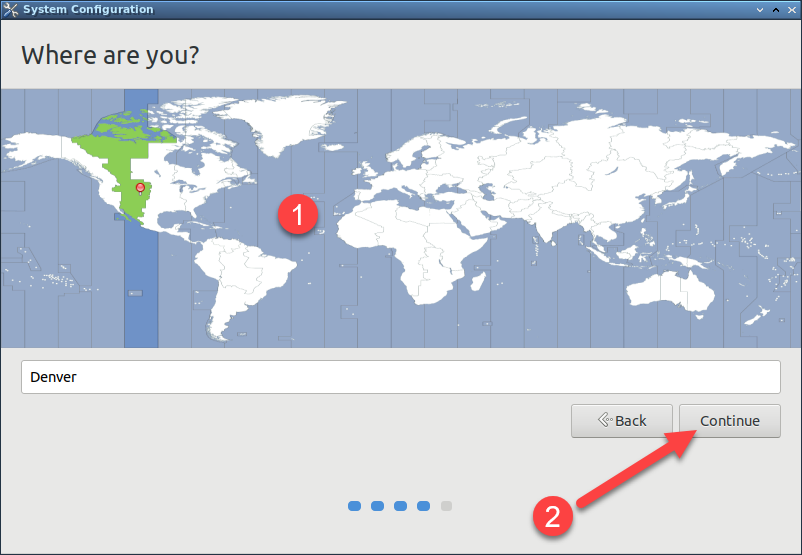
Select your timezone by clicking on your location on the map, then click "Continue":
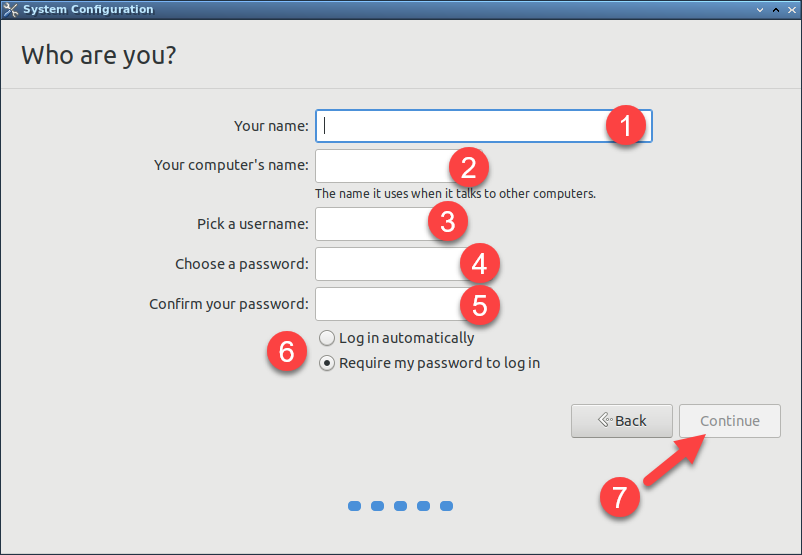
Enter your Name. The computer's name and username fields will automatically populate. You can choose to use the automatically created computer name and password, or you can click in the box and change them to whatever you would like. Then, enter your password into the password and confirm password fields. Finally, choose if you want to enter your password every time you log in or have it automatically log you in without having to enter your password. When done, click "Continue":
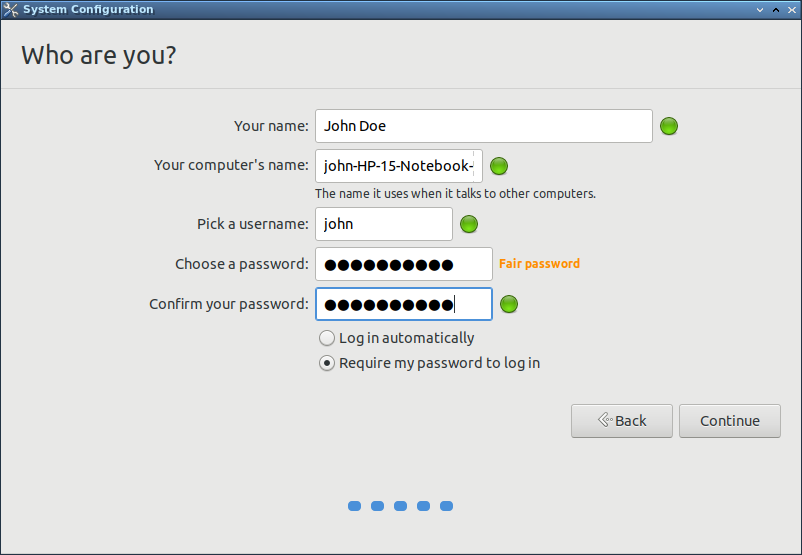
Example of what this looks like filled out:
The install process will now run and finish. This will take a couple minutes. Once done, if you chose to always enter your password when logging in, you will get the Xtra-PC login screen. If you chose to "Log in automatically", you can proceed to step 12.
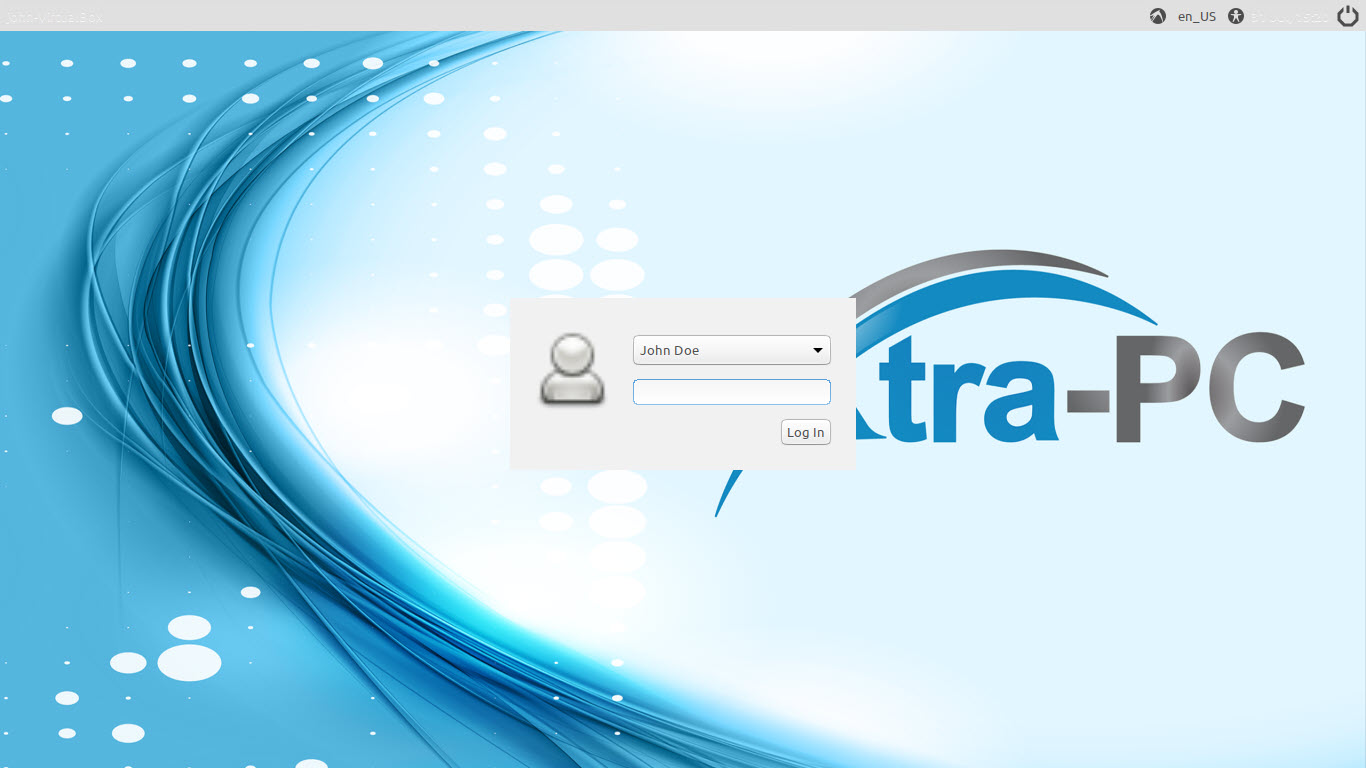
Log in with your username and password that you specified in step 10.
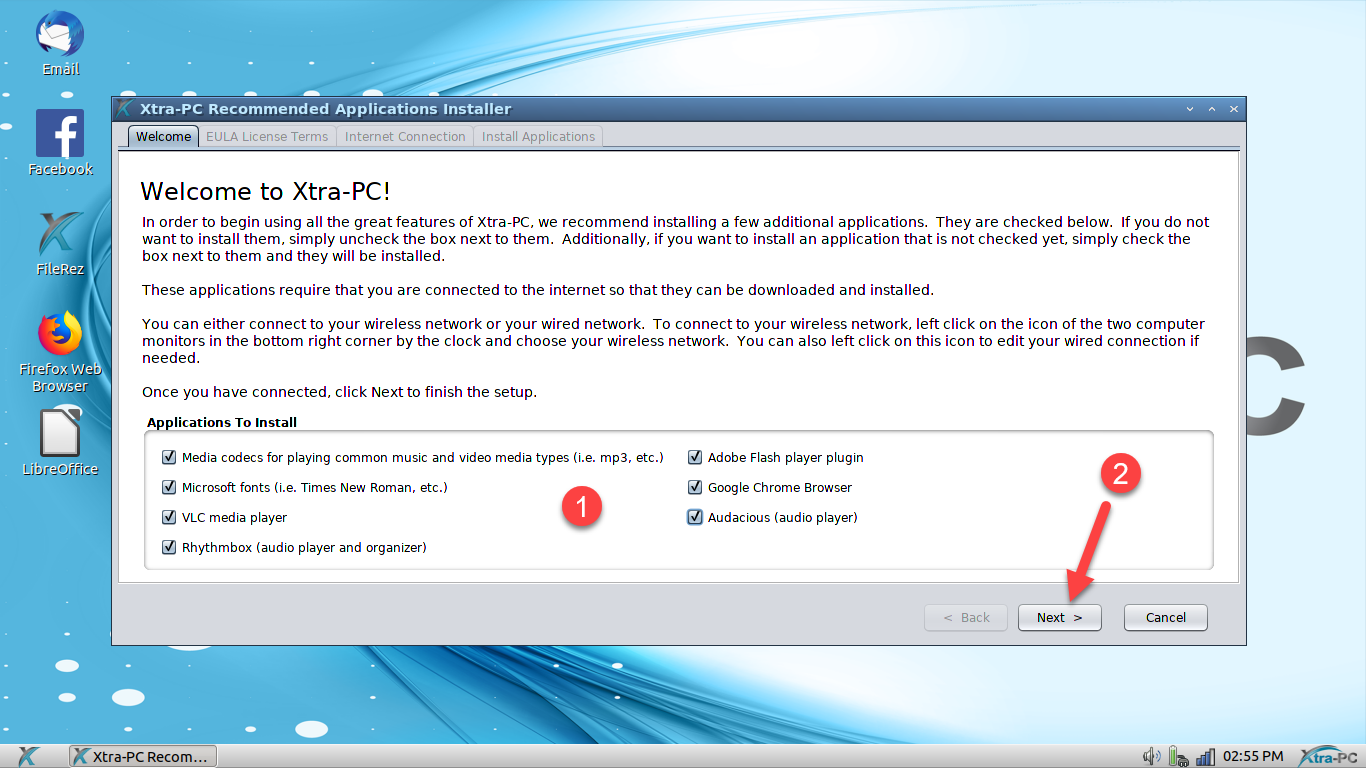
After logging in, you will see a welcome screen. In the "Application To install" section, select the additional applications you would like to install. Deselect any applications you do not want to install. Then, click the "Next" button:
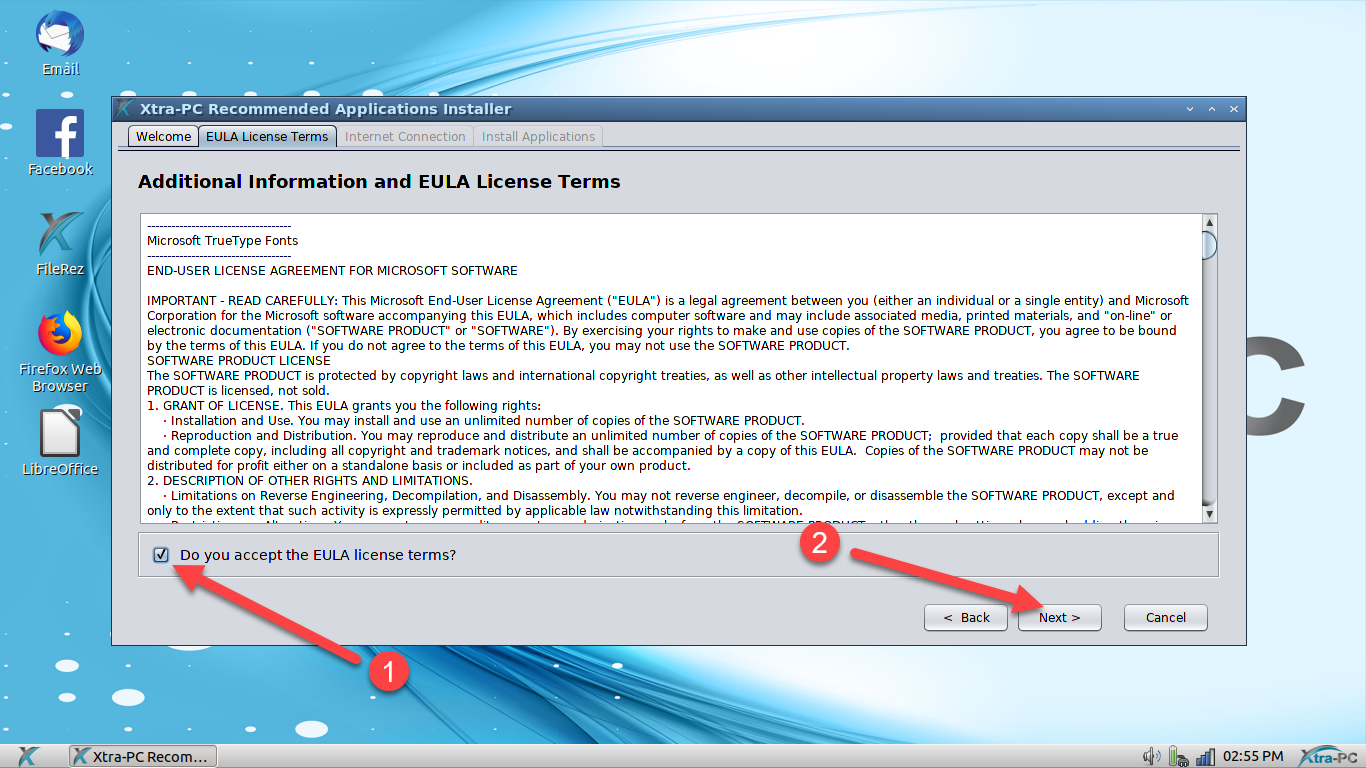
You will see the Additional Information and EULA License Terms window. Click the box to agree to the EULA terms and then click the “Next” button:
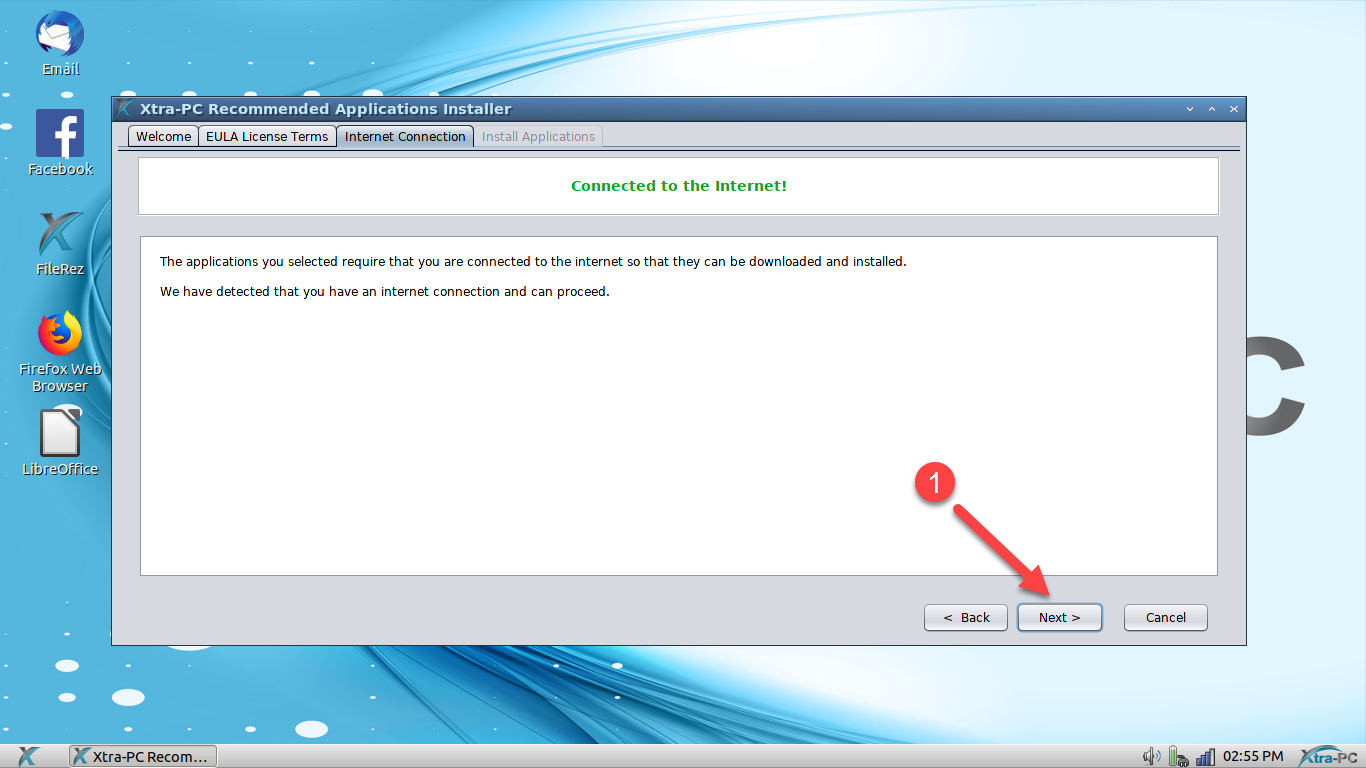
You must be connected to your network for the installation to continue. You can either connect to your wireless network or your wired network.
If in step 8 above you chose "I don't want to connect to a wi-fi network right now", then you will need to connect to your network before proceeding to step 15. For detailed instructions on how to connect to your wireless network, please see "Connecting to Wi-Fi"
If you are already connected to your wireless or wired network, then you will see a message that you are connected to the internet. Click the "Next" button to continue.
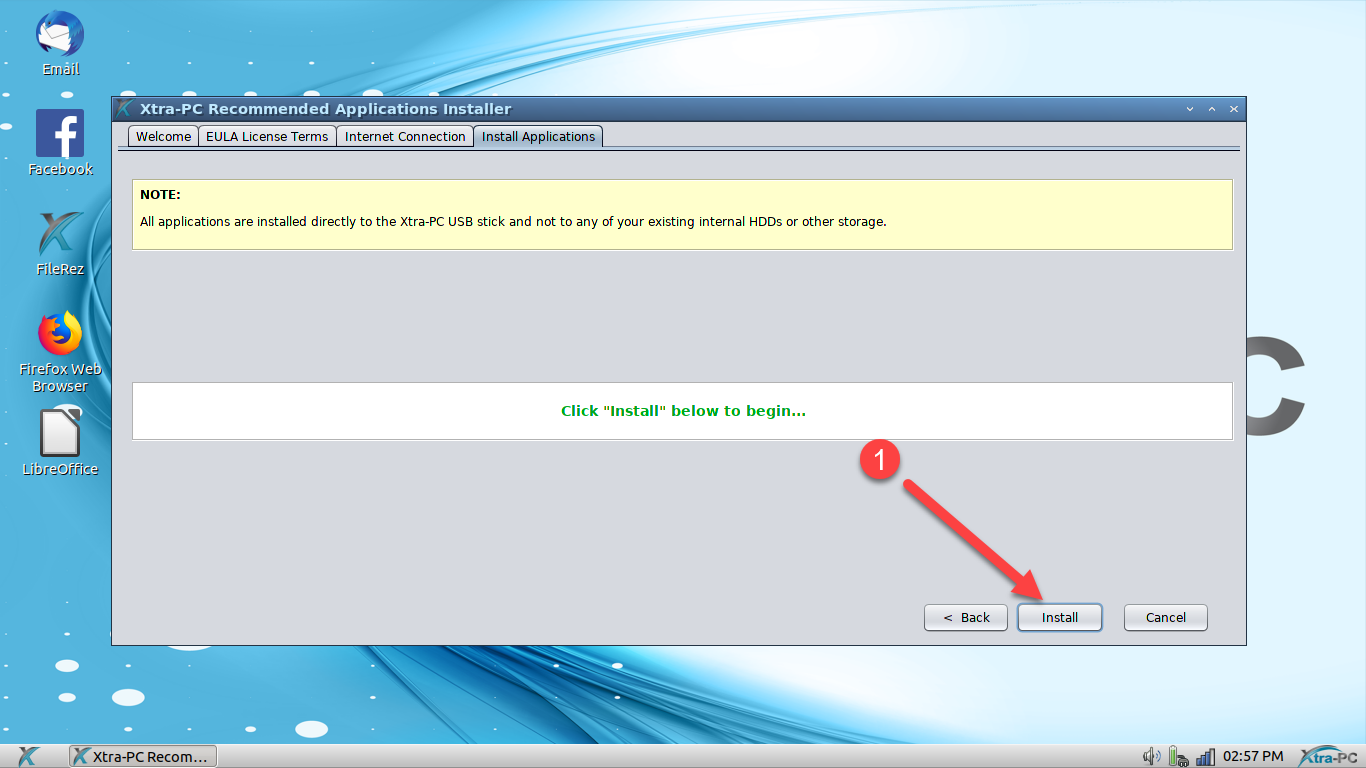
Click “Install” to begin the install.
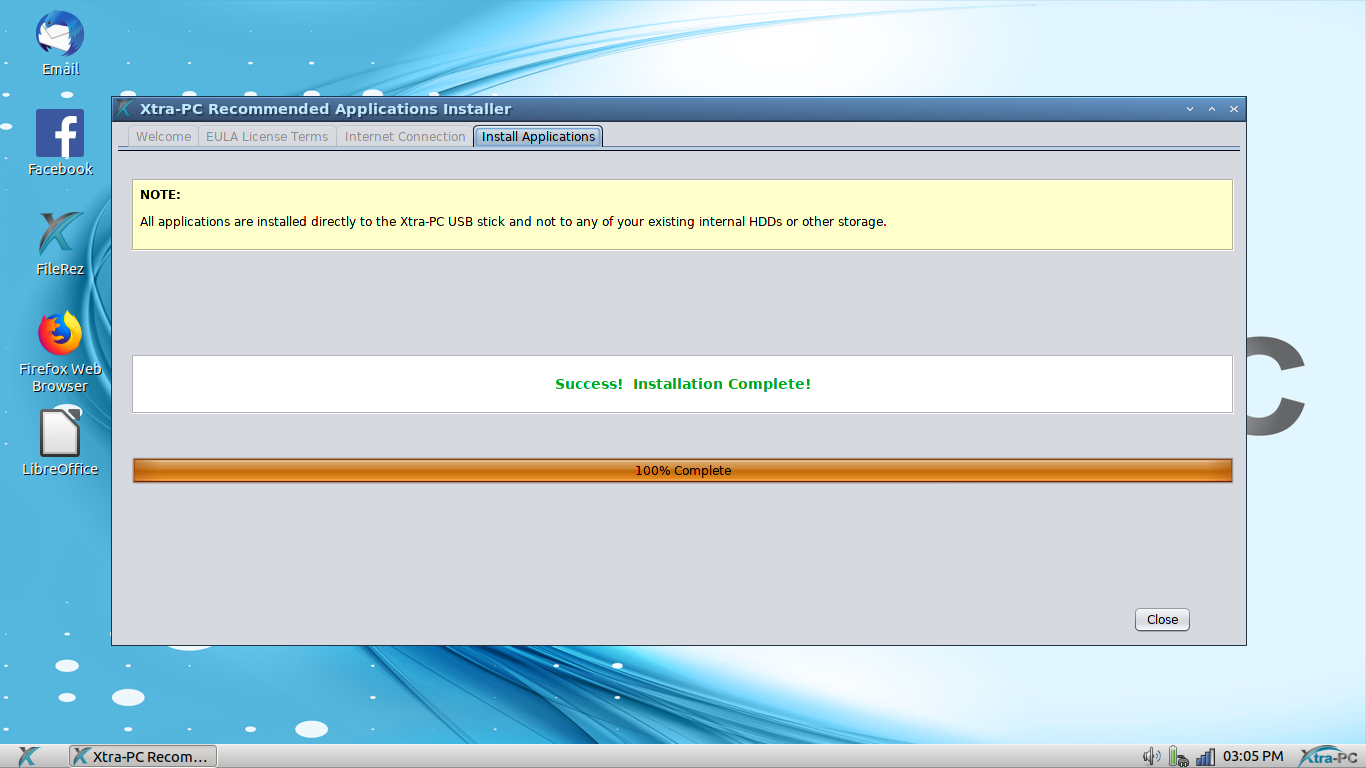
NOTE: All applications are installed directly to the Xtra-PC USB device and not to any of your existing internal HDDs or other storage.
You will get confirmation that the install completed:
Video demonstrating opening and exploring the DoubleClickToUseXtraPC application, as well, as walking you through the install process when starting in Windows:
Video demonstrating the initial Xtra-PC setup (steps 1 to 11 above):
Video demonstrating running the Xtra-PC Initial Install Wizard (steps 12 to 16 above):